Recent Posts

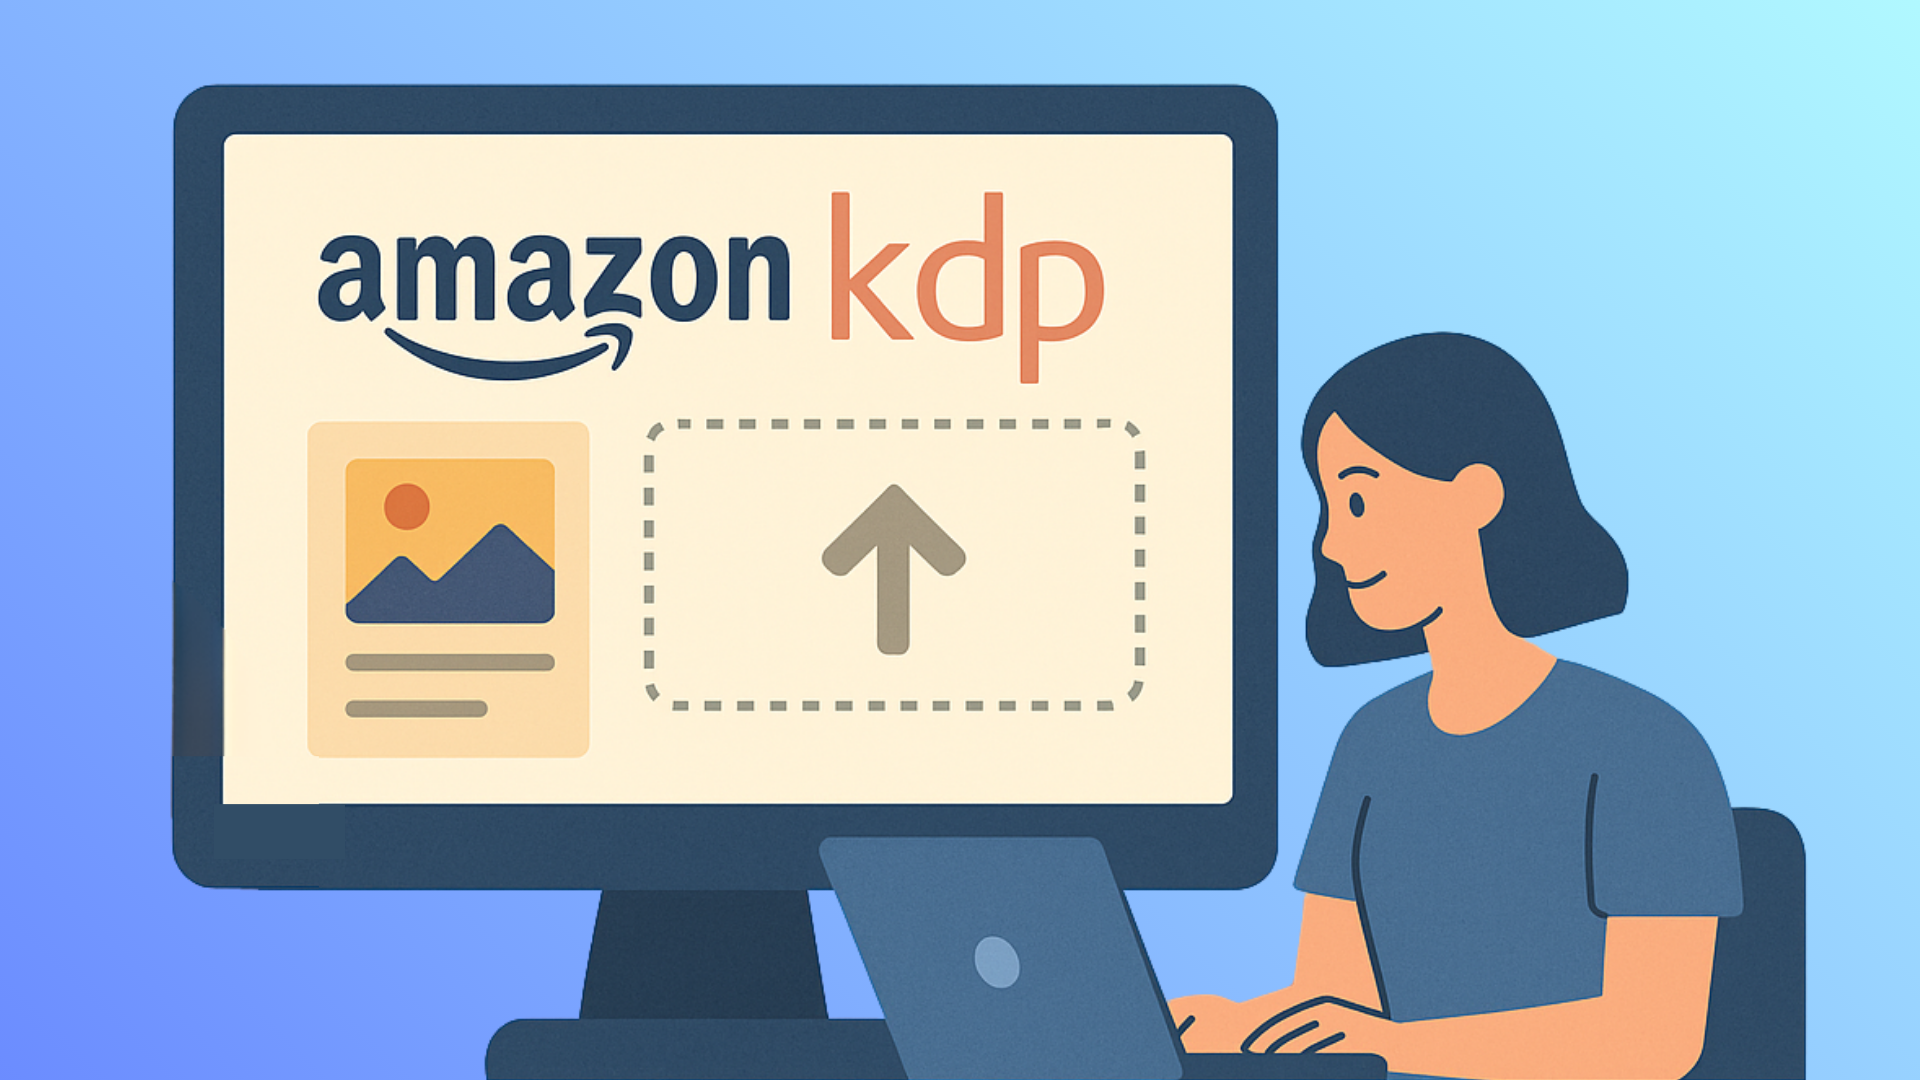
How to Upload A+ Content to Amazon KDP
Join us Now
How to Upload A+ Content to Amazon KDP
So you’ve just received your final A+ Content from KDPChimp — great job!
Now it’s time to upload it to your Amazon KDP account so your beautiful new visuals appear on your Amazon sales page.
Step 1: Go to Your KDP Dashboard
Log in to your Amazon KDP account at kdp.amazon.com.
At the top of the page, click on the “Marketing” tab.
Scroll down until you see the box that says “A+ Content.”
Step 2: Choose Your Marketplace
Click the dropdown that says “Choose a marketplace.”
Most people should select Amazon.com (for the US).
Then click “Manage A+ Content.”
Step 3: Create New A+ Content
Click the button that says “Start creating A+ content.”
You’ll be asked to give it a name — you can call it something simple like “Book Title (US)”.
Step 4: Add Your First Module
Click “Add Module.”
A list of module options will appear (like Standard Image Header with Text, Four Image with Text, etc.).
💡 Tip: In your KDPChimp project folder, you’ll find a text file that tells you exactly which module type to choose for each image.
Step 5: Upload the Images
Click “Add Image.”
Upload the matching PNG file(s) from your KDPChimp project folder.
Some modules (like 4 Icons) have multiple image slots — upload one image into each.
Others (like Header or Show Interior) only have one image.
💡 Tip:
Leave any headline or text boxes empty unless your text file says otherwise.
If a white text box appears on top of your image, don’t worry — just leave it blank. It disappears automatically in the preview.
Step 6: Add Image Keywords (Alt Text)
Under each image upload box, there’s a small field called “Image Keywords” or “Alt Text.”
Copy the keywords from the text file we gave you and paste them there.
If it asks for unique ones, just add numbers at the end — for example:
apluscontent1
apluscontent2
These help with Amazon’s SEO (Search Engine Optimization).
Step 7: Add the Remaining Modules
Keep repeating the same process:
Choose the next module type (look in your text file)
Upload the next image
Paste the keywords
Continue until all modules are uploaded.
Step 8: Add Your ASIN
When you’re done adding all the modules, click “Apply ASINs.”
Then:
Go to your book’s product page on Amazon.
Scroll down to the “Product Details” section.
Copy the ASIN (it’s a 10-digit code).
Paste it into the box and click “Apply.”
💡 Tip: If your book has more than one format — like Kindle, Paperback, or Hardcover — add each ASIN here. That way, your A+ Content appears on every version of your book.
Step 9: Review and Submit
Click “Review and Submit.”
You can see how your A+ content looks on both desktop and mobile.
If everything looks good, click “Submit for Approval.”
Amazon usually approves your content within 24–48 hours (sometimes much faster).
Once approved, it’ll automatically appear on your product page!
Bonus Tip: Publishing in Other Countries
If you sell your book in more than one Amazon marketplace:
Go back to the A+ Content Manager.
Click “Switch Marketplace” (top right).
Choose the next country (like UK or CA).
Repeat the same steps to upload your A+ content again for the other marketplaces.
That’s It!
Your A+ Content is now live — and your Amazon listing looks professional and polished.
If you get stuck or something doesn’t look right, we’re always happy to help!
Just send us an email us at support@kdpchimp.com

